Toasting bread in the oven is easy. Follow How To Toast Bread In The oven A Step By Step Tutorial for crispy, delicious results.
Nothing beats the aroma of freshly toasted bread in the morning. Whether you are craving a warm slice of toast for breakfast or need a crunchy base for your favorite sandwich, toasting bread in the oven is a simple and convenient method.
With just a few easy steps, you can achieve perfectly golden and crispy toast that will satisfy your taste buds. In this tutorial, we will guide you through the process of toasting bread in the oven, ensuring you get that perfect crunch every time. So, let’s get started and elevate your toast game to a whole new level!
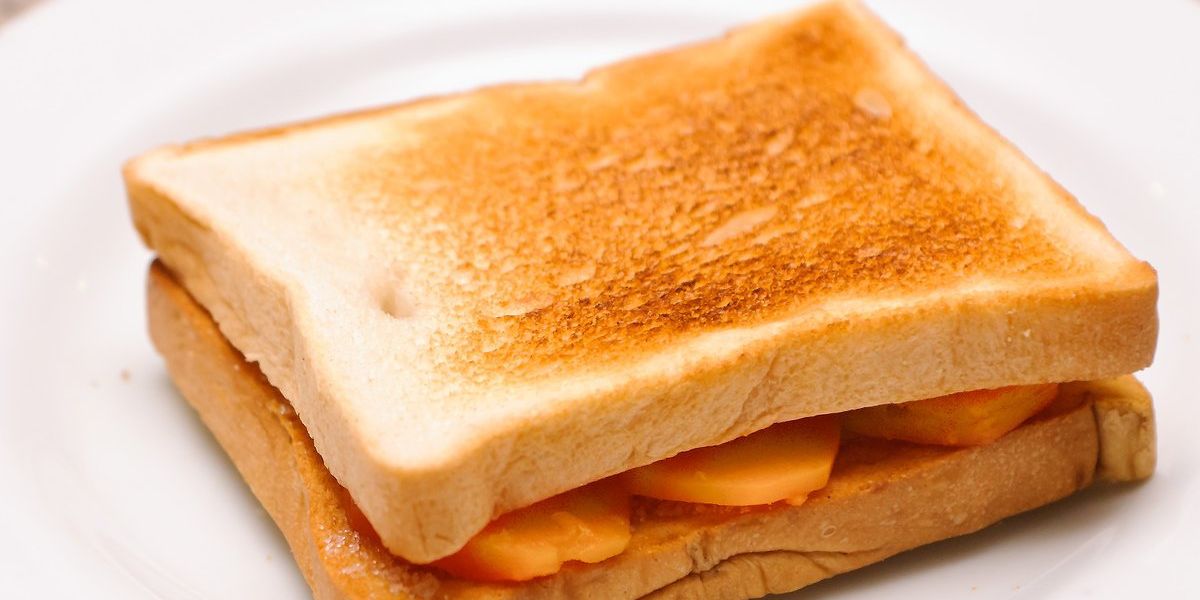
Credit: biteswithbri.com
Choosing The Right Bread
Toasting bread in the oven is simple and hassle-free. Follow this step-by-step tutorial for perfectly toasted bread every time.
Before we dive into the step-by-step tutorial on how to toast bread in the oven, it’s essential to start with the right bread. The type of bread you choose can greatly influence the final outcome of your toast: from its flavor and texture to its overall quality. By considering a few key factors, you can ensure that your toast turns out perfectly golden, crispy, and delicious. Here’s what you need to know when it comes to choosing the right bread:
Consider The Bread’s Moisture Content
When selecting bread for toasting in the oven, it’s important to consider the moisture content. Bread with a higher moisture content tends to become soggy rather than achieving that desired crispness. To ensure your toast is delightfully crunchy, opt for a bread that is less moist.
One way to determine the moisture content is by checking the ingredient list. Bread made with low-moisture ingredients like flour, water, yeast, and salt is typically ideal for toasting. Avoid bread that contains excessive amounts of fats, oils, and sweeteners, as these ingredients can make your toast greasy or overly sweet.
Opt For A Loaf With A Tight Crumb Structure
In addition to moisture content, the crumb structure of the bread also plays a crucial role in achieving the perfect toast. A loaf with a tight crumb structure, characterized by small and compact air pockets, will result in a toast that is more evenly toasted and less likely to become overly dry or burnt.
To identify bread with a tight crumb structure, look for loaves with a uniform texture that appears dense but not overly heavy. Sourdough bread, for example, is known for its tight crumb structure, making it an excellent choice for toasting in the oven.
By carefully considering the moisture content and crumb structure of the bread you choose, you can set yourself up for success when toasting in the oven. Next, let’s move on to the step-by-step tutorial, where we’ll guide you through the process of toasting bread to absolute perfection.
Slicing The Bread
Before toasting your bread in the oven, you’ll need to slice it properly. Slicing the bread is an important step to ensure that it toasts evenly. Here are a few simple steps to follow when it comes to slicing your bread:
Use A Serrated Knife
When it comes to slicing bread, using a serrated knife is essential. The small teeth on the blade allow you to easily cut through the crust without squishing or compressing the bread. This ensures that your slices come out clean and even.
Cut Even Slices
It’s important to cut your slices evenly to ensure that they all toast at the same rate. To achieve this, hold the serrated knife at a slight angle and apply gentle pressure as you cut through the bread. Aim for slices that are about 1/2 inch thick, but adjust according to your preference.
If you want thicker slices, simply adjust the angle of the knife. By cutting even slices, each piece of bread will receive the same amount of heat, resulting in a consistent, flavorful toast.
So, let’s recap the key steps for slicing the bread:
- Use a serrated knife to cut through the crust without squishing the bread.
- Cut even slices about 1/2 inch thick for consistent toasting.
- Adjust the angle of the knife for thicker or thinner slices, based on your preference.
Now that you’ve successfully sliced your bread, you’re ready to move on to the next step in our How To Toast Bread In The Oven tutorial. Stay tuned!
Preheating The Oven
When it comes to toasting bread in the oven, preheating is an essential step that ensures your bread turns out perfectly crispy and golden brown. Preheating the oven means heating it to the desired temperature before placing your bread inside. In this step-by-step tutorial, we will show you how to preheat your oven to 350 degrees Fahrenheit.
Set The Oven Temperature To 350 Degrees Fahrenheit
Setting the oven temperature is the first step in preheating. To preheat your oven for toasting bread, follow these simple instructions:
- Access the oven controls and locate the temperature setting.
- Using the appropriate buttons or knobs, adjust the temperature to 350 degrees Fahrenheit. This is the optimal temperature for toasting bread to a perfect golden brown.
Allow The Oven To Fully Preheat
Waiting for the oven to fully preheat is crucial in achieving evenly toasted bread slices. Here are some steps to ensure your oven reaches the desired temperature:
- After setting the oven temperature to 350 degrees Fahrenheit, close the oven door.
- Allow the oven to preheat fully, which typically takes around 10 to 15 minutes.
- During this time, the oven’s heating element works to reach the desired temperature, ensuring that it is even throughout.
Prepping The Bread
Learn how to toast bread in the oven with this step-by-step tutorial. Achieve perfectly crisp and golden slices of bread for your breakfast or sandwiches.
Apply A Thin Layer Of Butter Or Oil
Before toasting your bread in the oven, it’s important to add a thin layer of butter or oil. This step not only enhances the flavor of your bread but also helps to create a deliciously crispy texture. To apply the butter or oil evenly, you can use a pastry brush or simply spread it with a butter knife.
Applying a thin layer of butter or oil ensures that your bread doesn’t become greasy and heavy. It also helps to prevent the bread from sticking to the baking sheet, allowing for easy removal once toasted to perfection.
Add Any Desired Seasonings
To take your toasted bread to the next level, you can experiment with various seasonings. This step allows you to infuse extra flavor into the bread, customizing it to suit your taste preferences. Whether you prefer a savory garlic bread or a sweet cinnamon toast, adding seasonings is the perfect opportunity to get creative in the kitchen.
Here are a few popular seasonings you can consider:
- Cinnamon and Sugar: An irresistible combination for a sweet and indulgent treat.
- Garlic Powder and Herbs: Ideal for savory bread that pairs well with soups or pasta dishes.
- Everything Bagel Seasoning: Create your own everything bagel-inspired toast with this flavorful mix.
Remember to sprinkle the seasonings evenly onto the buttered or oiled bread, ensuring that each slice is generously coated. This way, the flavors will be evenly distributed as the bread toasts in the oven.
Placing The Bread In The Oven
Toasting bread in the oven is a simple process that guarantees a crispy and delicious result. From preheating the oven to placing the bread slices on a baking sheet, follow this step-by-step tutorial to enjoy perfectly toasted bread.
Toasting bread in the oven is a simple and convenient way to achieve a crispy and golden-brown result. However, it’s important to place the bread slices correctly on a baking sheet to ensure even toasting. Follow these steps for perfectly toasted bread every time:
Arrange The Bread Slices On A Baking Sheet
Begin by preheating your oven to the desired temperature for toasting bread, usually around 375°F (190°C). While the oven is heating up, take a baking sheet that is large enough to accommodate your bread slices in a single layer. To avoid overcrowding, it’s best to use a larger baking sheet or work in batches. Once you have the baking sheet ready, arrange the bread slices in a single layer on the sheet. Make sure to space them evenly, allowing sufficient room for air circulation between each slice.
This will promote even browning and prevent the slices from becoming soggy. If you have a limited baking sheet space and need to toast multiple slices, you might consider using a toaster oven instead, as it allows for better control over the toasting process. However, if using a regular oven, ensure that the slices are arranged with enough distance between them on the baking sheet.
Ensure Even Spacing Between Slices
Uniform spacing between the bread slices is crucial for consistent toasting. By providing adequate space, the heat from the oven will be able to reach all sides of the bread slices, resulting in an evenly toasted outcome. To achieve even spacing, you can use one of the following methods:
1. Spread the slices out evenly: Place each slice of bread on the baking sheet, leaving a small gap between them. This approach works well when you have enough space on the sheet and want to toast several slices simultaneously.
2. Use a wire baking rack: If you have a wire baking rack that fits inside the baking sheet, place it on the sheet and arrange the bread slices on top of it. This method elevates the bread, allowing hot air to circulate around every slice, resulting in even toasting. Remember, proper spacing between the slices is crucial. If they are placed too close together, they may end up steaming rather than toasting, resulting in a soft and soggy texture. Following these simple steps will ensure that your bread slices are placed correctly in the oven, allowing them to toast evenly and become delightfully crispy. Enjoy your perfectly toasted bread slices straight from the oven!
Monitoring The Toasting Process
Learn the step-by-step process of toasting bread in the oven for perfect, crispy results every time. This tutorial provides easy instructions to monitor the toasting process and achieve your desired level of crispiness.
Keep An Eye On The Bread’s Color
In order to achieve perfectly toasted bread, it is important to keep a close watch on the color as it toasts in the oven. The color of the bread is an indication of how crispy or golden it is becoming.
- Check the bread periodically to ensure it is not getting too dark or burning.
- Look for a desirable light brown color, indicating that it is nearing the desired level of toasting.
- Remember, the toasting process can be relatively quick, so it is vital to stay vigilant to prevent over-toasting.
Rotate The Baking Sheet Halfway Through
To ensure even toasting on both sides of the bread, it is crucial to rotate the baking sheet halfway through the toasting process. This simple step helps in achieving a uniform texture and prevents one side from becoming unevenly toasted.
- Use oven mitts or a kitchen towel to safely remove the baking sheet from the oven.
- Gently flip the bread slices to their opposite sides to expose the other side to heat.
- Place the baking sheet back in the oven, ensuring it is properly aligned to continue the toasting process.
By rotating the baking sheet halfway through, you will have evenly toasted bread that is perfect for a variety of delicious dishes.
Adjusting The Toasting Time
When it comes to toasting bread in the oven, one crucial aspect to consider is adjusting the toasting time. The duration of toasting greatly influences the final color and texture of the toast. Whether you prefer a light golden brown or a deeper brown, it’s essential to follow the correct toasting time. In this step-by-step tutorial, we’ll discuss two common options for adjusting the toasting time: toasting for 5-7 minutes or 8-10 minutes. Read on to learn how to achieve your desired toastiness!
Toast For 5-7 Minutes For A Light Golden Brown
To attain a delectable light golden brown color on your toast, it is recommended to toast it for approximately 5-7 minutes. This duration allows the bread to crisp up while maintaining its softness in the center. Follow these simple steps:
- Preheat your oven to 375°F (190°C) for that perfectly toasted result.
- Place your slices of bread directly on a baking sheet lined with parchment paper.
- Slide the baking sheet into the preheated oven, ensuring it is placed in the middle rack for even toasting.
- Set the timer for 5 minutes and keep a close eye on the bread while it toasts.
- Once 5 minutes have passed, check the color of the toast. If it has reached your desired light golden brown shade, carefully remove the baking sheet from the oven.
- If the toast needs additional time to achieve the desired color, place it back in the oven for another 1 or 2 minutes.
- Once you’re satisfied with the toast’s color, take it out of the oven and let it cool down slightly before serving.
Toast For 8-10 Minutes For A Deeper Brown
If you prefer a deeper brown color and a slightly crispier texture, toasting the bread for 8-10 minutes works best. Here’s how you can achieve that:
- Preheat the oven to 375°F (190°C) for even and consistent toasting.
- Place your bread slices on a baking sheet lined with parchment paper.
- Slide the baking sheet into the preheated oven, ensuring it is positioned in the middle rack.
- Set the timer for 8 minutes and monitor the toasting process closely.
- After 8 minutes, check the color of the toast. If it has reached the desired deep brown shade, carefully remove the baking sheet from the oven.
- If the bread needs a bit more time, place it back in the oven for an additional 1 or 2 minutes.
- Allow the toast to cool down slightly before serving to enjoy the perfect deep brown crunch.
Testing For Doneness
To ensure your bread is toasted to perfection, follow this step-by-step tutorial for testing doneness in the oven.
Press The Center Of A Slice
Testing for doneness is an essential step when toasting bread in the oven. To check if the bread is perfectly toasted, you can press the center of a slice to assess its texture. This method allows you to determine if the bread is thoroughly baked or if it needs more time in the oven.
Check For A Crispy And Slightly Firm Texture
A crispy and slightly firm texture is what you want to achieve when toasting bread in the oven. After pressing the center of a slice, look for a satisfying crunch and a firmness that is not too soft or too hard. This texture indicates that the bread has been evenly toasted and is ready to be enjoyed.
Keep in mind that the exact toasting time may vary depending on the type and thickness of the bread, as well as the temperature of your oven. It’s always a good idea to keep an eye on the bread while it toasts and adjust the time accordingly.
If the bread feels too soft or doughy after pressing, it needs more time in the oven. Place the slice back in the oven and continue toasting in short increments, checking for doneness after each interval. Avoid increasing the temperature drastically, as it may result in burnt or unevenly toasted bread.
On the other hand, if the bread feels excessively hard or crispy, it may be over-toasted. In this case, reduce the toasting time for the remaining slices to achieve the desired texture.
By using the press test and assessing the crispy yet slightly firm texture, you can ensure that your oven-toasted bread turns out just the way you like it. Enjoy your perfectly toasted slices for a delicious breakfast or a tasty sandwich!
Removing The Toasted Bread
Toasting bread in the oven is a simple process, and this step-by-step tutorial will guide you through it. With just a few easy steps, you’ll have perfectly toasted bread that you can enjoy with your favorite toppings or as a base for sandwiches.
Use Tongs Or A Spatula
After the bread slices have toasted to perfection in the oven, it’s time to remove them safely. To avoid burning your fingers, use a pair of tongs or a spatula. These tools will allow you to grip the bread firmly and prevent any accidents. Place the tongs or spatula under the slice of bread, securing it against any potential crumbling or breakage.
Transfer The Slices To A Cooling Rack
transfer the slices to a cooling rack. This will help maintain their crispness without becoming soggy from the residual heat. A cooling rack provides excellent airflow around the bread, allowing it to cool evenly and preventing any moisture buildup. When moving the bread to the cooling rack, ensure you handle it delicately to avoid any breakage or crumbling. Gently place each slice on the rack, leaving enough space between them to avoid condensation.
Ensure Each Heading Adheres To Html Syntax
When formatting your blog post for WordPress, it’s important to adhere to HTML syntax for each H3 heading. This will optimize the article for search engines and improve its readability. Ensure that your H3 headings are enclosed in appropriate HTML tags to display them correctly on your webpage. For example, the HTML syntax for the first H3 heading, “Use tongs or a spatula,” would look like this: “`html
Use Tongs Or A Spatula
Transfer The Slices To A Cooling Rack
“` By following HTML syntax, you enhance the structure and presentation of your blog post, making it more accessible to both readers and search engines.
Serving And Enjoying
Learn how to toast bread in the oven with this step-by-step tutorial. Follow the easy instructions for a perfectly toasted slice every time.
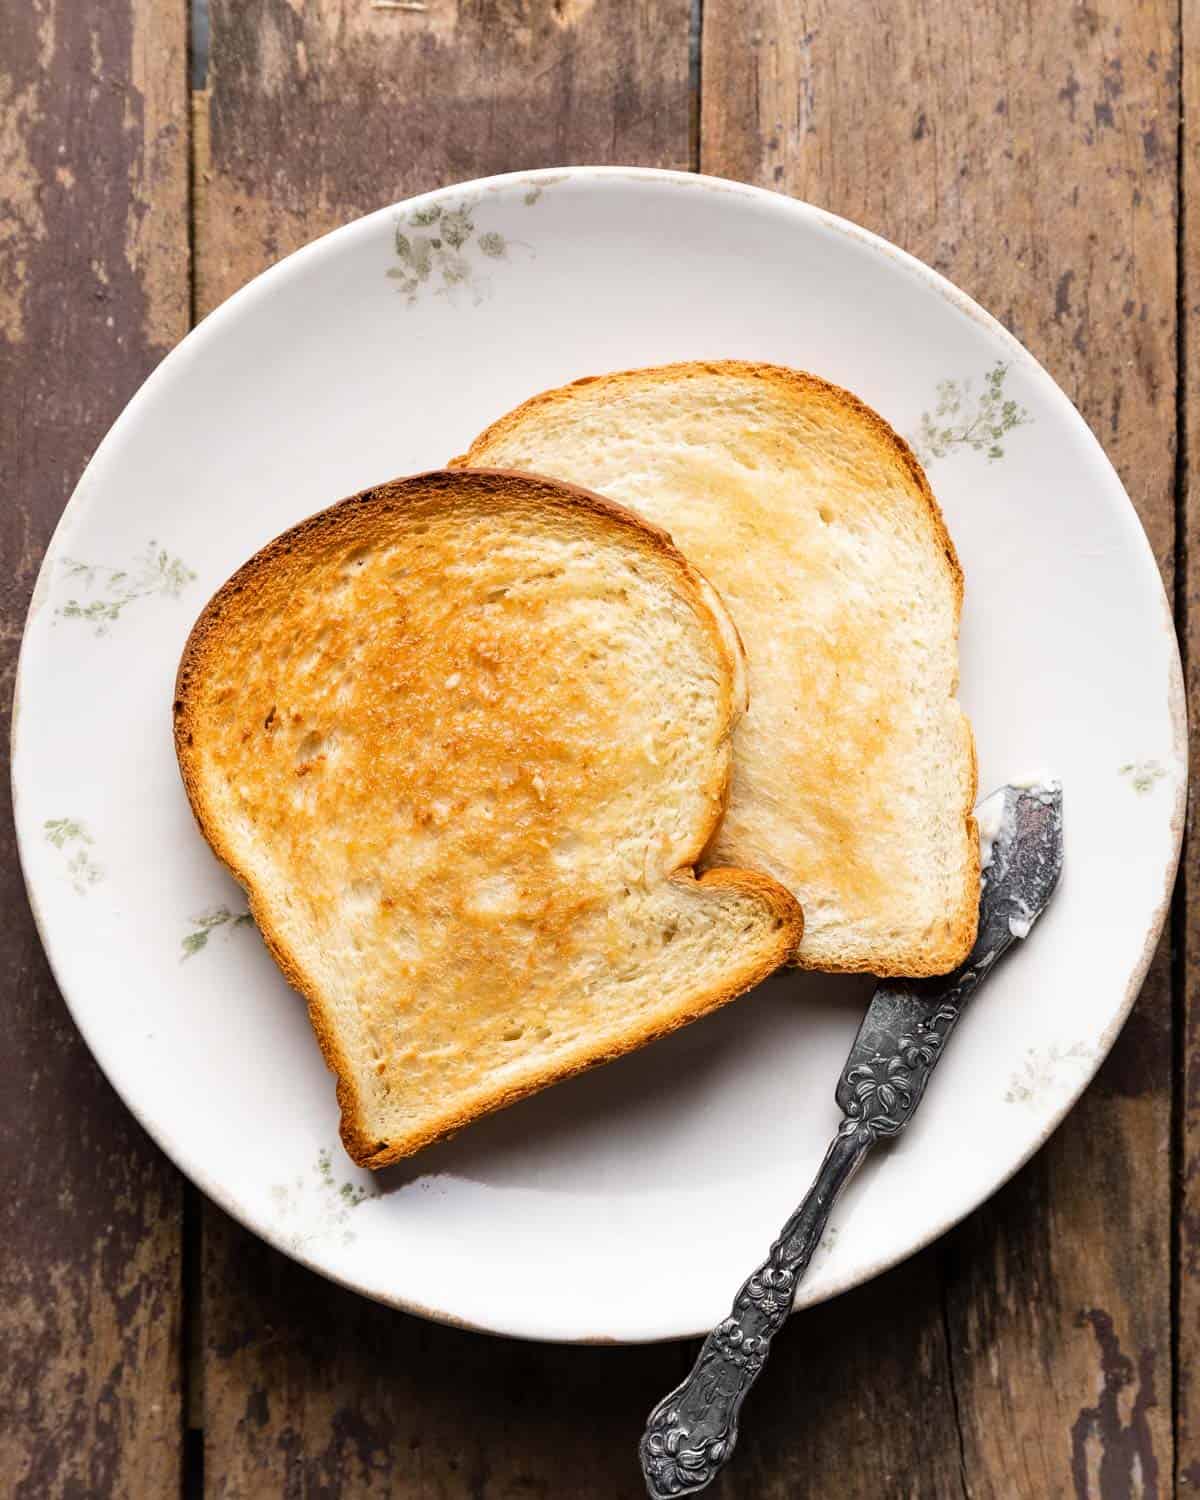
Allow The Toasted Bread To Cool For A Few Minutes
Once you’ve taken the delicious, golden-brown slices of bread out of the oven, it’s important to allow them to cool for a few minutes before serving. This will give them time to firm up and reach the perfect temperature for spreading on your favorite toppings or enjoying on their own. While it may be tempting to dig in right away, the cooling process is crucial to ensure that your toast doesn’t become soggy or lose its crispness. Patience is key here, and it will be well worth the wait!
Serve With Desired Toppings Or Spreads
Now that your bread is cooled, it’s time to get creative with toppings and spreads. Whether you prefer a sweet or savory taste, there are countless options to choose from. Here are a few ideas to get you started:
- Butter and jam: Classic and timeless, spreading a layer of creamy butter followed by a spoonful of your favorite jam creates a delightful contrast of flavors.
- Avocado and sea salt: For a healthy and satisfying choice, simply smash some ripe avocado onto your toast and sprinkle with a pinch of sea salt. You can also add sliced tomatoes or a drizzle of olive oil for extra taste.
- Cream cheese and smoked salmon: Elevate your toast with a schmear of smooth cream cheese and delicate smoked salmon slices. Top it off with a sprinkle of fresh dill or capers for an elegant touch.
Feel free to experiment and tailor your toppings to suit your personal preferences. Whether you like it simple or prefer more elaborate combinations, the possibilities are endless. And remember, presentation matters too! Arrange your toast on a nice plate, garnish it with herbs or spices, and let it become a small work of culinary art. By following these simple steps, you can easily toast bread in the oven and transform it into a delightful treat. Allow it to cool for a few minutes, then add your favorite toppings or spreads, and savor every bite. Get creative, have fun, and enjoy the delicious results!
Tips And Variations
Toasting bread in the oven is a simple and convenient method that yields deliciously crispy results. But why stop at plain toast when you can add a twist of creativity to your toasting game? Here are some tips and variations to help you take your oven-toasted bread to the next level.
Experiment With Different Bread Types
When it comes to toasting bread in the oven, don’t limit yourself to just plain white bread. 2031 Try exploring the vast world of bread varieties and find the perfect match for your taste buds. Whether you prefer whole wheat, sourdough, rye, or even gluten-free bread, each type adds its own unique flavor and texture to the final outcome. The oven toasting method can enhance the natural flavors and characteristics of different bread types, so don’t be afraid to venture beyond the ordinary and discover new favorites.
Try Toasting On A Grill Or In A Toaster Oven
If you’re looking for a slightly different toasting experience, consider using a grill or a toaster oven. These alternative methods provide additional options for achieving your preferred level of toastiness. A grill can infuse a smoky flavor into your bread, giving it an extra dimension of taste. Toasting bread in a toaster oven offers precise temperature control, allowing you to customize the level of browning to perfection. Whether it’s a backyard barbecue or a cozy kitchen gathering, these alternatives can add a touch of creativity to your toast-making routine.

Credit: recipeprojectblog.com

Credit: www.wikihow.com
Frequently Asked Questions On How To Toast Bread In The Oven A Step By Step Tutorial
Can I Toast My Bread In The Oven?
Yes, you can toast bread in the oven. Simply preheat the oven to the desired temperature, place your bread slices on a baking sheet, and toast for a few minutes until golden brown. Remember to flip the slices halfway through for even toasting.
Enjoy your crispy oven-toasted bread!
What Temperature Do You Toast Bread In The Oven?
Toast bread in the oven at 375°F for about 10 minutes.
How To Make Toast Step By Step?
To make toast, follow these steps: 1. Place bread slices in toaster. 2. Adjust the settings based on desired toastiness. 3. Press the toaster lever or power button. 4. Wait for the toast to pop up. 5. Carefully remove the toast from the toaster.
Enjoy!
What Is The Process Of Toasting Bread?
To toast bread, place it in a toaster or toaster oven. Adjust the settings to your desired level of browning. Press the “toast” button or switch on the toaster and wait for the bread to turn golden brown. Remove and enjoy your perfectly toasted bread in minutes!
Can You Toast Bread In The Oven?
Yes, toasting bread in the oven is a convenient and delicious alternative to using a toaster.
What Temperature Is Best For Toasting Bread In The Oven?
Set your oven to a temperature of 375°F (190°C) for the perfect balance of crispy on the outside and soft on the inside toast.
Conclusion
To sum it up, toasting bread in the oven is a quick and effortless method that yields perfectly crispy slices. By following this step-by-step tutorial, you can enjoy delicious toast without the need for a toaster. Whether you prefer a light golden color or a deep brown crunch, toasting bread in the oven allows you to customize your toast to perfection.
So next time you find yourself without a toaster, give this oven method a try and elevate your breakfast or sandwich experience. Happy toasting!